
So after our energy audit, I realized that I’ve got a few access doors or hatches that need to be sealed off. I’ve got an attic access door, and the little access door to the crawlspace underneath the living room. We’ve also got one of those old-school through-the-wall ventilation fans in the upstairs bathroom, that needs some sort of cover too.
I’ve got a method that I like for making these sorts of insulating covers. I’ve made a few in the past, mainly as attic-fan covers. You can buy attic-fan covers in home-improvement stores, but by-in-large they are chintzy pieces of junk. You can make one yourself for fairly cheap that seals up better and packs a lot more “R” value to it.
First up, you’ll need some foam-board insulation. I much prefer the extruded pink stuff (it can be blue or green too, but it’s all about R-5 per inch). Much less appealing is the white foam board, it’s less insulating, falls apart easily and is generally a pain to work with. I used a bit of white foam board because I found a few full sheets of it laying around the garage. If it’s free I might as well use it, right?
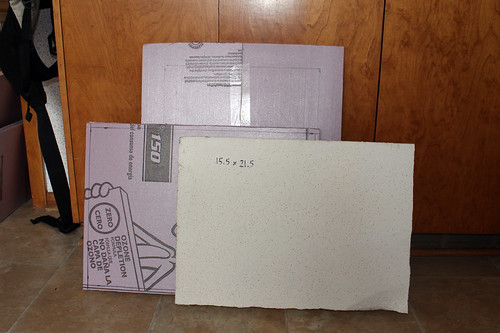
Anyway, measure all your openings and cut out your pieces. If you’ve got several to cut, mark the dimensions on each piece so you won’t forget what size they are later. You can cut extruded foamboard with a utility knife. You don’t have to cut all the way through. Just cut halfway through and snap it over the edge of a table or something.
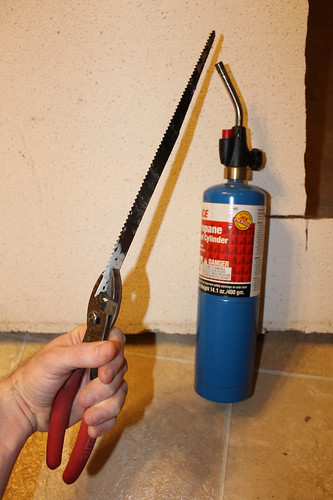
If you’re unfortunate enough to be working with the white foamboard, then don’t try to cut it with a knife unless you want those little foam pellets stuck to everything you own. Instead, you’ll need a thin, rigid piece of metal such as a hacksaw blade (I used an absurdly long sawzall blade). Heat up your “blade” with a torch, holding it with pliers or vice-grips so’s you don’t burn yourself. When it’s hot enough it’ll cut through the white foamboard like butter. It’s a pain in the butt, and it smells terrible, so cut it outside or just stick to the pink foamboard if at all possible.
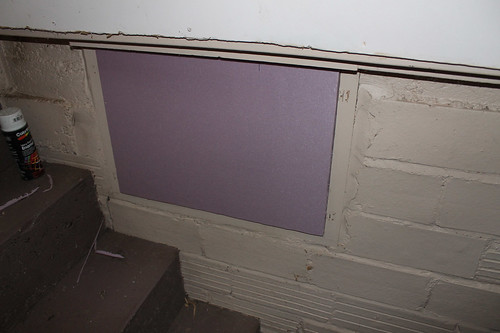
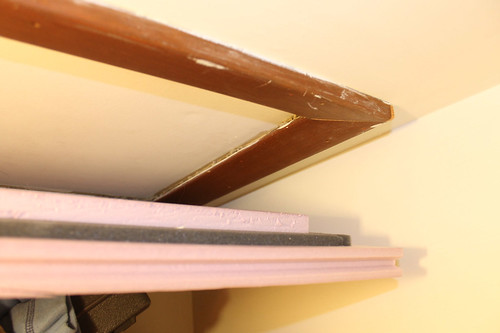
Glue up a few pieces to get the profile you need to fit the particular access door you’re working on. For most attic fans and such you’ll only need one slab of foam cut a few inches bigger than the frame of the fan. Other access doors like the one to my crawlspace will need two pieces of foamboard. Glue them with either liquid nails or hot glue.
After it’s glued up, test fit it to the access door to make sure it all fits. If it doesn’t fit, trim the offending bits with a utility knife until it does.
Next up, add some weatherstripping. Don’t get all crazy with some high priced weatherstripping, just get the cheap foam weatherstripping. Foam weatherstripping is nearly useless for windows & doors, but it’s perfect for this kind of thing.
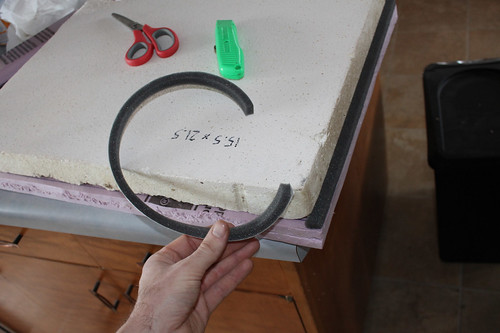
After applying the weatherstripping do another test fitting to make sure the weatherstrip is actually compressed a little bit when the cover is fitted.
So, if your spiffy new cover fits tightly enough that it’ll stay where it belongs, then congratulations! You’re done!
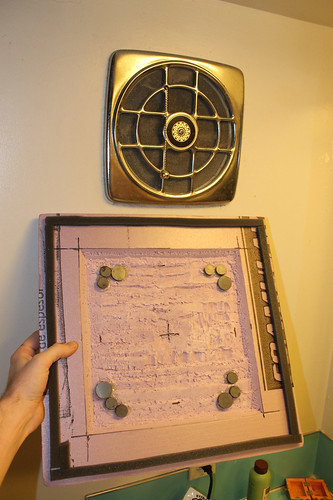
If you’ve got a ventilation fan, attic fan, or something that protrudes from the wall or ceiling, then you’ll need some magnets to hold the new cover on. I like these little 3/4″ and 1″ ceramic disc magnets that I get from the hardware store. Hot glue those babies on the back of your foamboard and you’re good to go. Don’t cheap out on the magnets. They’re not that expensive, so put quite a few on there to hold everything. There’s nothing more annoying than a cover popping off every time there’s a gust of wind outside.
I had the little cover on the bathroom ventilation fan during our home energy audit. The blower door test supposedly simulated a 15mph wind against all sides of the house. I’m happy to report that the vent-fan cover stayed put through all of it without a trace of air leaking through.
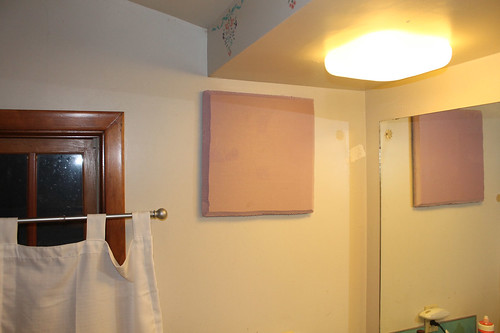
To finish it all off and make it look presentable you can paint it to match the room. The pink foamboard takes paint quite well. White foamboard? Not so much. And if you really want to get fancy you can bevel the edge with a utility knife, just make sure it’s a new blade so you won’t gnarl the foam up too much.
Happy insulating!