So a few weeks back we had an intense little storm front move through overnight. It didn’t really do much damage, but there was plenty of thunder and lightning.
And then the next morning I noticed that one of our sows was in with the boar (she wasn’t supposed to be). They were separated by a 3-wire electric fence, which was a pretty good indication that there was a problem with said fence.
Sure enough, the electric fence energizer had quit working. Not good.
The electric fencer was in the exact same spot it had been when we bought the farm nearly two years ago. Even though we made a few improvements to the wiring, it was still far from ideal. Our intention was to move the fencer up to the chicken coop after we got electric service restored to the coop last fall. The coop got electricity, but the fencer never got moved. Even worse, during all the work on the well the lightning protection was removed from the fencer and never restored.
Fortunately for us, the fix was as easy as changing a blown fuse in the energizer. Last year it was a $80 repair bill and a week without a fencer.
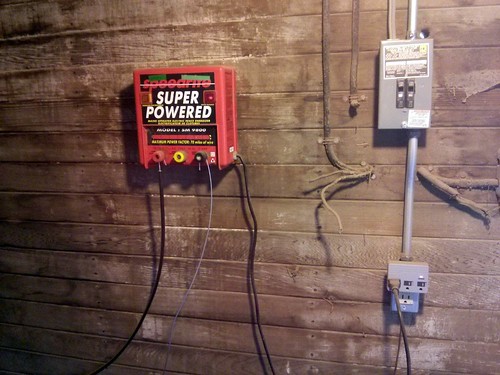
It was time to get the fencer moved to it’s permanent home. Moving the fence energizer up to the coop was the easy part. Just hang it on the wall and plug it in, this time with a surge protector!
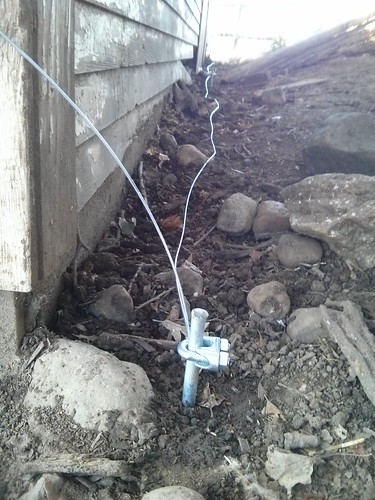
But enough with the easy stuff, we’ve got a grounding system to install! In our case we went right outside to the North side of the chicken coop and drove five 6′ ground rods into the soil in the drip-line of the coop. The rule-of-thumb for electric fencing is that you need 3′ of ground rod for every joule of fencer output. We’ve got a 9 joule fencer so we need at least 27′ of ground rod, or 4.5 six-foot ground rods.
Now for the hot side of the fence.
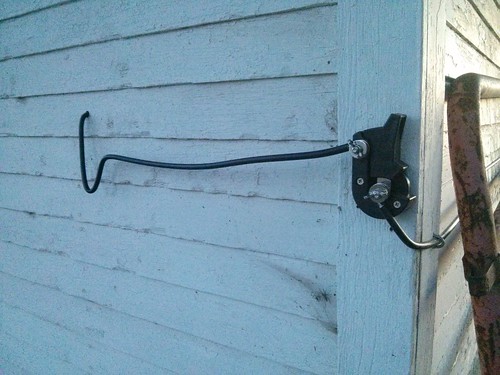
We’ve got a cutoff switch on the front corner of the chicken coop to make fence-shutoffs a bit quicker and easier. The little horizontal bit of wire before the switch is designed to accommodate a fence indicator light. It should be clearly visible from my kitchen window, allowing me to quickly see if there are any major problems with the fence.
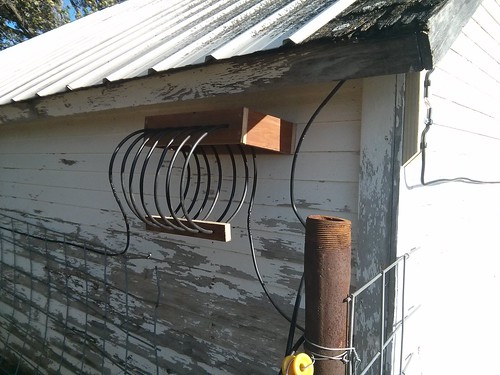
Just a bit further down the line, the leadout wire goes through this lovely homemade lightning choke just before it connects to the fence. The general design of the choke is taken from Electric Fencing for Serious Graziers [PDF]. I’ve read that a larger diameter choke is more effective for higher voltages (a lightning strike is on the order of millions to billions of volts) so it ought to do a better job than the little store-bought lightning coils.
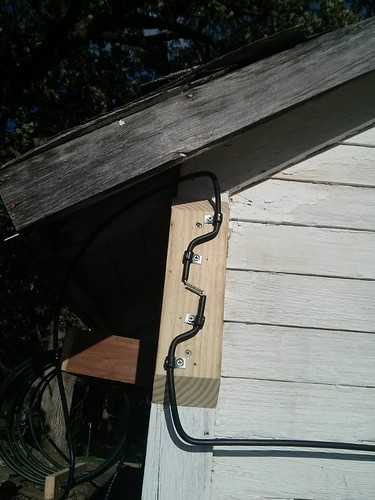
Right next to the lighting choke is the spark gap. The spark gap connects (if the conditions are right) the lightning ground system to the rest of the fence. The lightning ground is a slightly-better ground system (6 rods instead of the energizers 5) that will hopefully give any errant lighting-strike a place to go that is a safe distance away from the electric-fencer, our buildings and any animals. Again, this is a homemade device, a bit of 2×4, some 12ga double-insulated wire and a few small conduit clamps.
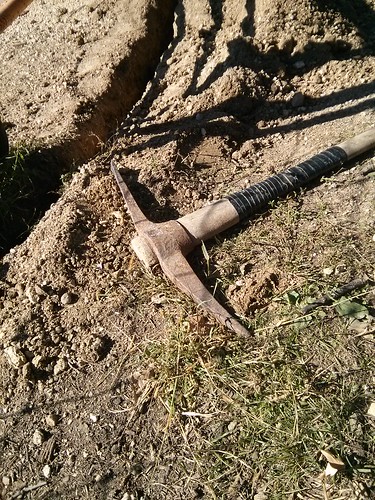
With all that out of the way there is just one small matter left: getting out the pickaxe to dig in another electric gate.
Impressive, Andrew! I’ll bet a farm magazine would like to publish this if you submitted it.