
So we got a bit of work done on the old chicken coop, but it needed some more help before it could get back to it’s old job of housing chickens.
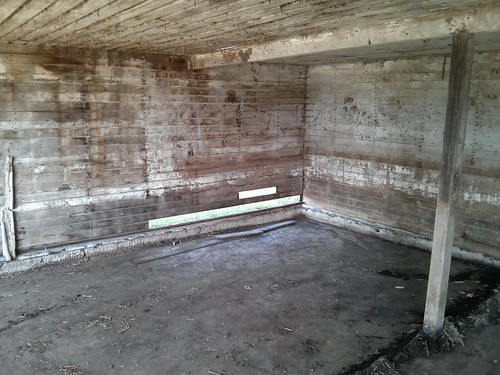
The back wall of the coop was in particularly bad shape. You could see daylight though the wall, and it was even worse from the outside.
There wasn’t a single intact stud in the back wall, they were all completely rotted off.
Not good.
That means that there was nothing on the back wall to bear any of the weight of the structure.
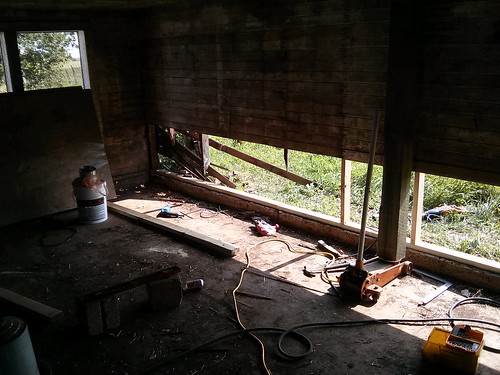
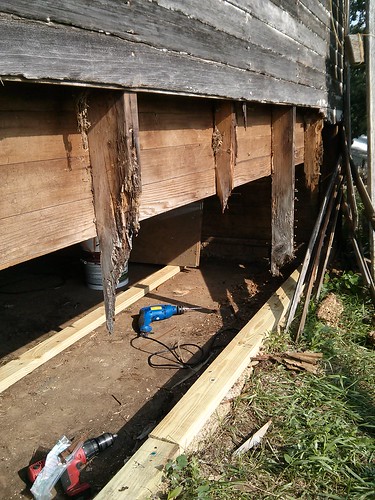
The back wall was jacked up with a hydraulic jack on the main beam, and the sill plate was replaced.
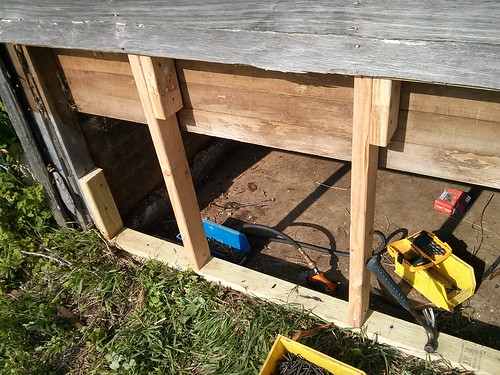
The lower 2-3′ of rotted stud was cut off, and new studs were scabbed on.

With a bit of flashing and some engineered-wood siding, the wall was sealed back up.

And then the painting began.
The painting is still a work in progress, as we had a few other things that were higher priorities.
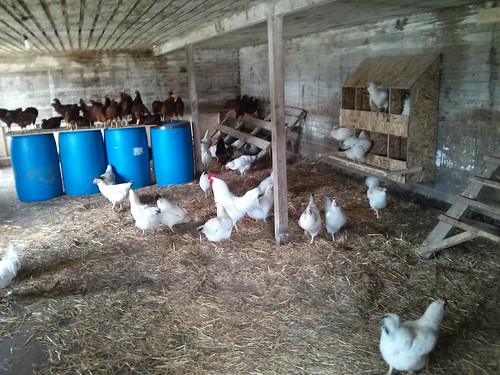
Like moving over a few feeders, roosts, mega-waterers, nestboxes and chickens.
They sure seem to enjoy the extra elbow-room, but we still had a small problem.
There just weren’t enough nestboxes for the number of chickens we have. There are supposed to be one box per 4 hens, and we had an 8-hole nestbox for just over 40 hens. Figure in the 30 pullets who should start laying in a few months, and we were facing a serious nestbox shortage.
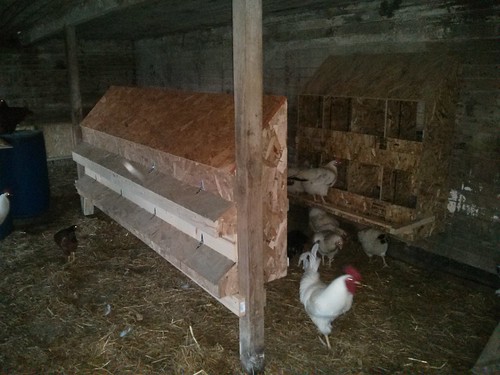
The new 16-hole rear-rollout nestbox should do the trick. Now we’ve got enough boxes for 100 hens.
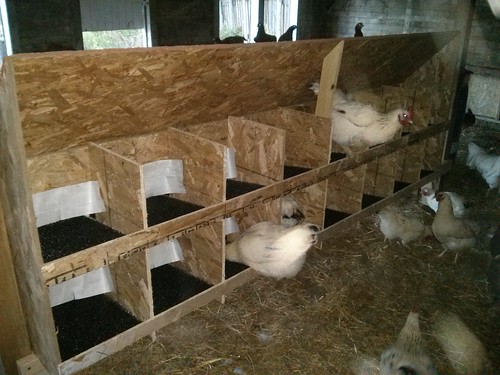
More eggs are on the way!
Solid work!